By John P. Smith
Freelance Writer
(Watch the video introduction to this article: http://www.youtube.com/watch?v=CEXKaJhz1WU)
I'm not a "prepper," but I do believe in being at least somewhat prepared. So I keep a "Get Home Bag" in my work vehicle. A Get Home Bag isn't like a Bug Out Bag or a typical, portable emergency supply kit. The Get Home Bag should be designed to take care of you for 24 to 48 hours on foot should you not be able to drive yourself home. Really, a GHB isn't what might be considered "required" equipment, because you can travel without it, but you may not want to. I consider it much like a spare tire: Not necessary for the general daily function and use of an automobile, but absolutely essential when things go wrong.
I work 35 miles from home. I know I'll be traveling at least one full day, 10 to 12 hours, on foot if I cannot drive home, through some rough, mountainous terrain. I've designed my bag to have two days of food, shelter and other necessities to get me home on foot. I've also made one for my wife and my adult children who live away from home. My son attends college 70 miles away, so his bag contains more food and water. All in all, I custom-built four bags, each for a specific situation, yet, each contains a number of the same essential items.
I assume most folks are like me, and we can't afford to put hundreds of dollars into an emergency bag that we’ll just tote around forever and not have to use...if all goes well. Even more so if you're building more than one. The internet, the compendium of (almost) all human knowledge, has a lot of information available on being prepared and readiness and what to put in your Get Home Bag. Some folks will want you to start with a firearm and go from there. Others will tell you to carry a stick, still others recommend no weapon at all and a two-day supply of water. Depending on your situation, any and all of these might be correct.
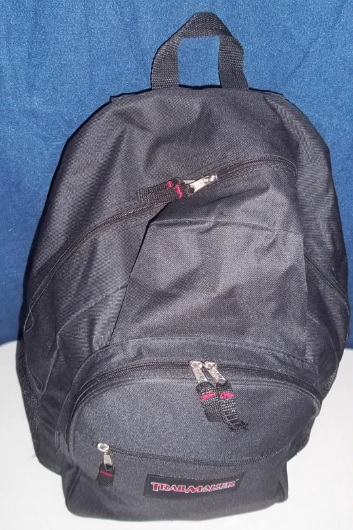
Remember, this is enough supplies to get you to your destination if you have to walk. Of course, what you put in the bag is up to you. What I have listed is what I've put in my bag. I've personally field tested most of the items in this list, the plastic garbage bag tube tent being a notable exception. I have placed all these items in an inexpensive backpack ($8.) My total cost for the general material, including the back pack, was about $40. I was actually shooting for less, trying to make a bag for under $25, but it just wouldn't come in below that price range without skimping on something you'll really want to have when you're in the middle of a walk-home catastrophe.
Here are 10 items common to all my bags:

1: Water. Water can be made safe by boiling, disinfecting or filtering. This is as simple as it gets. The average person requires about 2 liters of water per day just for drinking. I carry two containers: a 1-liter bottle in the bag and a 500 ml bottle in an outside pouch. I tightly wrap the cap of the bottle in the bag with stretchy electrical tape to prevent accidental opening. This should get an average person by for 24 hours but leaves little room for cooking and personal hygiene. Cost: Practically nothing.
If you're going to need more than 24-hours of water, there are alternatives to carrying it. First, let's apply a little common sense: If you're finding water in the wild, or just outside, if the water is dark or black, smells of decay, chemicals or like something is dead, then DO NOT USE IT. Find another source. I also carry a small quantity of bleach and some coffee filters. Use the filters to remove sediment and particulates. Then use the bleach to kill bacteria and viruses. This is common, unscented, household, chlorine bleach. Use 1 drop per liter to purify water. Then let the water set for 15-30 minutes, repeating the process if the water doesn’t smell of chlorine. Cost: The coffee filters are about 2 Cents each and the bleach costs less than $1 a gallon.
 2: Food: Carry a few high-calorie meals that do not require cooking. For 24-48 hours, we can get by without food, but we really don’t like to. I carry 2 Clif's bars, a couple of granola bars, 2 foil packs of tuna, 1 package of chicken salad with crackers and maybe a small pack of beef jerky. Carry single-use food servings. Burn or bury you leavings. Don't carry anything that smells like food in your bag. Make sure if you haul a bag of jerky, that it is resealable. I actually keep all the food rolled up in a small plastic bag and tied off with a rubber band. My walk home will be extremely rural. I'm not too much worried about wolves, bears, coyotes, cougars and such (although those are actual dangers) but more so about the family dog. The last thing I need is to be chased by a farm hound when I'm trying to cross the creek on the back 40 because he smelled tuna casserole from a kilometer away. We do not want to hurt an animal for doing its job. And a hurt animal makes for a suspicious owner. In a suburban or urban setting, dogs will be a secondary worry. It is best all around to simply avoid detection. Remember, this whole idea is to get home. Cost: Approximately $5.
 3: Clothing: This will change with the seasons, but some items will be constant. Specifically, a dry pair of socks, a dry T-shirt, a hat and a disposable rain poncho. I keep mine in a zip-lock bag. Pack clothing according to the season. I carry a complete set of sweats, in addition to the items above, rolled up and sealed in a trash bag. I live in the South, so in the summer, I also carry a pair of light-weight shorts. Spending the night outdoors, trying to stay warm wearing wet clothes is a miserable experience. (That's the voice of experience speaking.) The sweats can be worn in place of wet clothing, or over, or under, as needed depending on the weather and the situation. In northern climates, more precautions are needed. In winter, don't run across town to the mall wearing clothes you can't walk home in. At least have those clothes available in your vehicle. Take a coat that you can spend the night wearing and have some warm, waterproof shoes. Cost: You should already have the clothing items. Poncho: $1.
  5: Light: You'll need light. If you have to start out at night, or if caught out at night, you'll need light to find a place to bed down. Everybody has an opinion about flashlights and lighting. I have Mag lights and rechargeable batteries in my wilderness camping backpack. For my get home bag, I have two plastic lights and a change of batteries. I bought these nearly a year ago and they're still working fine, because they stay in my bag. The extra batteries guarantee me several hours of light. Unless you know exactly where you're going, you'll probably not want to travel at night. If you run into a situation where you have to travel in the dark, remember, light attracts attention. If possible, only use the light to get yourself set up for the night and light your fire. Cost: Flashlights with batteries, $2, Additional batteries, $1.
4: Shelter: I carry 3 industrial-strength, 33-gallon garbage bags and a coil of light cord and some tape. This is supposed to be a one-time use item, but you'll want to roll it up and take it with you when you leave. With this equipment, it is easy to set up an open-ended, tube tent. Leave the bags intact until they have to be cut. In a worst-case scenario, where you're caught in an open field, etc, you may have to use one bag as a ground cloth and just curl up inside another, feet up hill, head pointed down. You wrap all your equipment in the third bag. (I interviewed a guy in 1987 who crossed the Iron Curtain out of Romania doing just that.) Create the tube tent by cutting open two of the bags and taping them together. Run a piece of cord between two trees about a meter above the ground.and lay the sheet long-way over the cord. Tape the bottom together with the inside seam pointed up hill. Place your gear in the remaining bag to keep it dry. If it's particularly windy, you'll want to choose larger trees to keep your tent from moving too much. Cost: Bags, $1.50, Cord, $1.25, Tape, $1.25.
 6: Fire: Depending on your situation, you may or may not want a fire for an overnight stay. If you're in cold country, you'll want a fire. Remember, light attracts attention, so you'll want to have some way of shielding the flames so they don't advertise your presence. This is usually done by building a screen of rocks, dirt or even wood. You'll also want to use a smokeless fire, if at all possible. Burn only dry wood. Try not to use green or wet wood, branches or leaves. In my fire kit, which is sealed in a zip lock bag, I have a package of tissue and several paper towels. These serve many purposes, from toilet paper to hand dryers to kindling in wet weather. It also includes a box of matches, a butane lighter, two tea light candles and a can of home-made fire starter. The fire starter is cotton balls dipped in petroleum jelly. One of these cotton balls, liberally coated with petroleum jelly, will start with just a spark and burn for five minutes. Each bottle contains about a dozen coated cotton balls. Cost: About $1.25.
 7: Knife/Tool: A knife is a necessity. A multi-tool will almost always have a knife blade included and can be used. However, a pocket knife for cutting line, plastic bags, kindling, whatever use, doesn't have to break the bank. I've used the knife shown above for the past year in all my outings and even carry it to work frequently. It's basically a no-name utility knife I bought at a discount supply warehouse (similar to Harbor Freight.) It has served me well enough that I bought one for each GHB so they had a decent knife. Some folks advise you to have a K-Bar or some other expensive blade. But let's face it, not everybody can spend $50 or $100 on a knife. Remember, again, this is to stay in the bag and help get you to your destination if the kaka hits the rotating blades. It doesn't have to break the bank. A multi-tool is also quite handy and a good backup if you lose your knife. The tool pictured here is from my bag. I picked it up at a sale somewhere a few years ago. Cost: Knife, $7, Tool, $6.
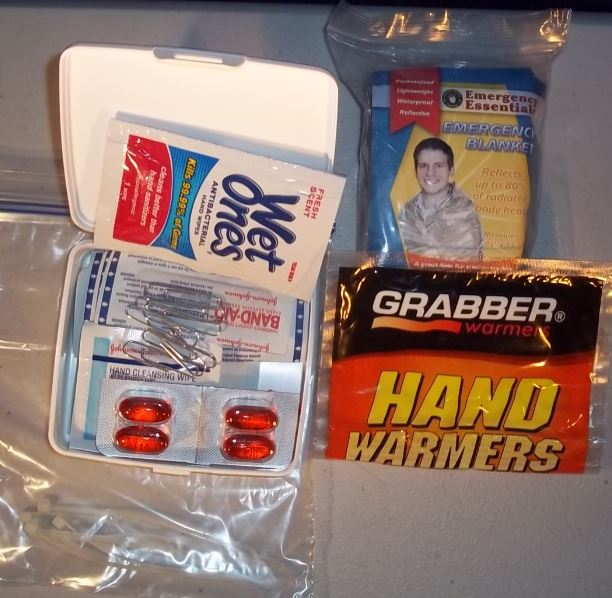 8: First Aid: Basic First Aid should be sufficient for what is essentially an overnight stay and a day long walk. I found these small, plastic First Aid Kits at Walmart. I added some basic items: Larger bandages, aspirin, ibuprofen, allergy tablets, antacids, a hand-warmer and some gauze. Remember the package of tissue in the fire starter kit? It can also act as a compress if necessary. I dropped a few miscellaneous items into the kit also, including a few cable ties, some paper clips, a couple of safety pins and a nail clipper. I also have an emergency blanket, which I include with the First Aid, rather than shelter. I also included is a small fleece blanket. In extreme conditions, this could be cut to act like a poncho and worn under the emergency rain poncho as added warmth and protection from cold. Plus, if you're spending the night in the outdoors, even a light fleece blanket is nice to have. But it is not a necessity. Cost: First Aid Kit, $1.50; Emergency Blanket, $1.50.
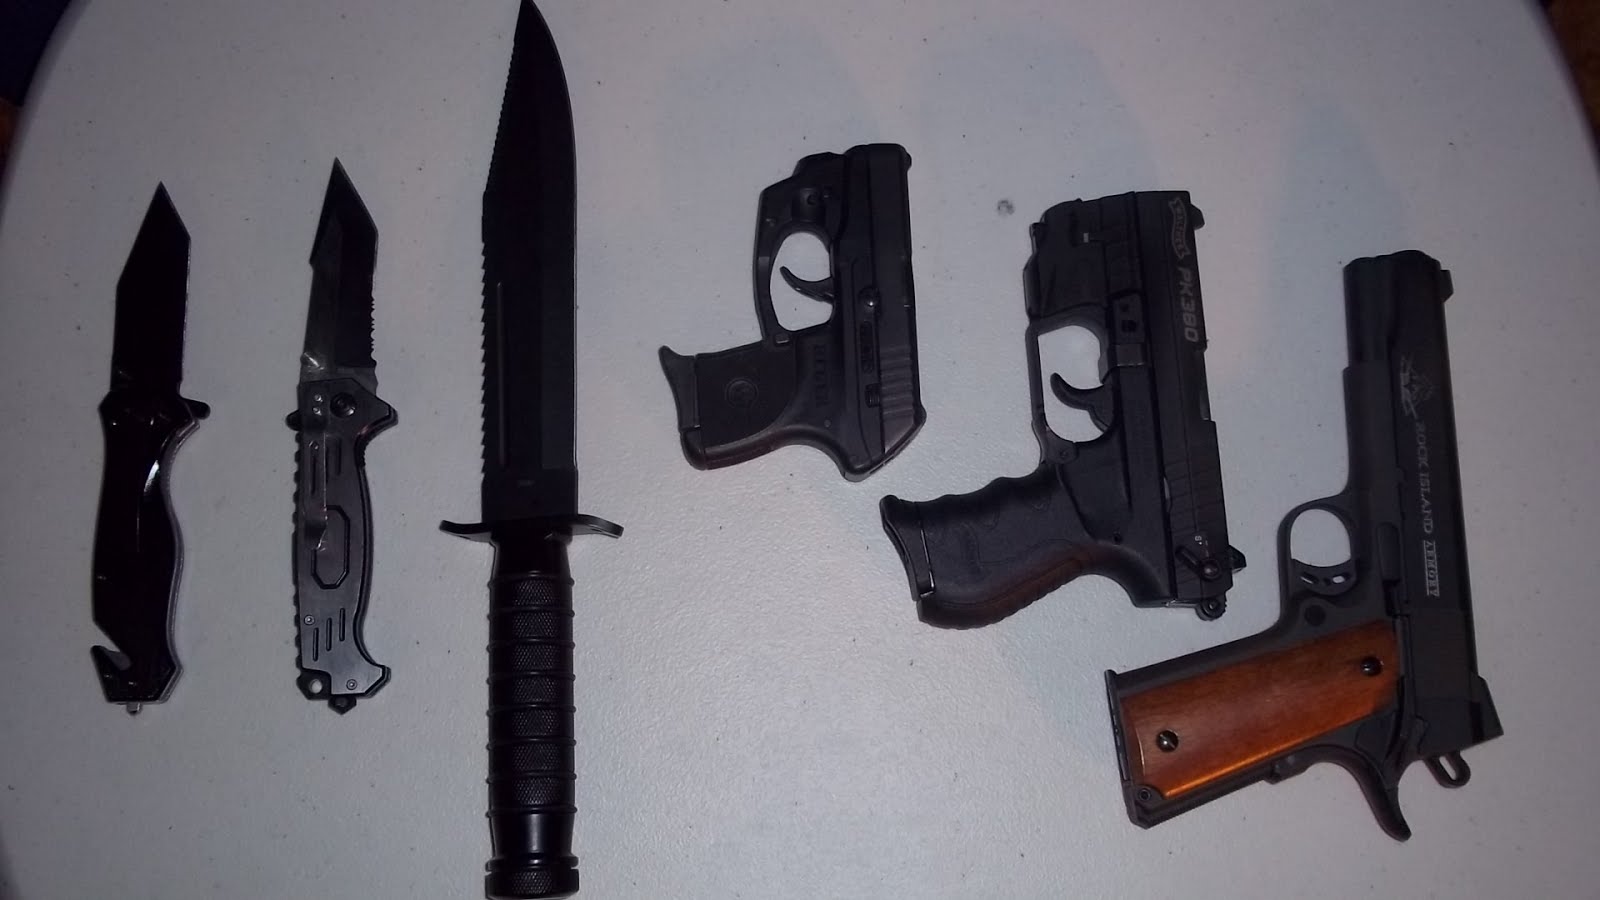 9: Personal Defense/Protection: This is entirely up to you and your situation and the laws in your state for carrying weapons.. For the purposes of this article, we will talk about your knife and a walking stick. I do not expect to run into people who want to fight me or take my stuff. If I do, I'm prepared to deal with them. I spent 8 years in the military and in addition to that training, I've studied the long staff, the cane, trained with knives, pistols, rifles and my bare hands (Jujitsu.) As stated earlier, your best bet is to avoid detection and remain unnoticed. However, if you are trained and comfortable with a weapon, and you're willing to use it, that is a personal decision. For this situation, we'll use our knife to cut us a simple walking stick, about shoulder height, with one end sharpened. If you've got a fire, harden the sharp point by heating it, but not burning it. If you're not trained with anything, this is better than nothing. Get some training. Cost: Nothing.
 10: Radio/phone/GPS: A cell phone should be able to pick up local radio or digital news feeds. If you neither have nor want a cell phone, find an old AM/FM radio at a pawn shop for a couple of bucks. Put the batteries in it when you need it. I found a great deal on crank flashlights that will also charge small devices. I carry this in my bag to charge a spare battery that will charge my cell phone. (The crank will not charge an iPhone directly.) If you don't have any of the above, at least have a map of the area and a decent compass. And know how to read it. This should be included in each bag, regardless. My Cost: $5.50. Your Cost: Your choice.